
Browse all docs
Setup and admin
Settings
Settings is where you configure your account, your workspace, billing, and the services that power ZenTalk: channels, calling numbers, payments, integrations, and the AI sales agent. This page is an index; it points you into each area.
Where settings live
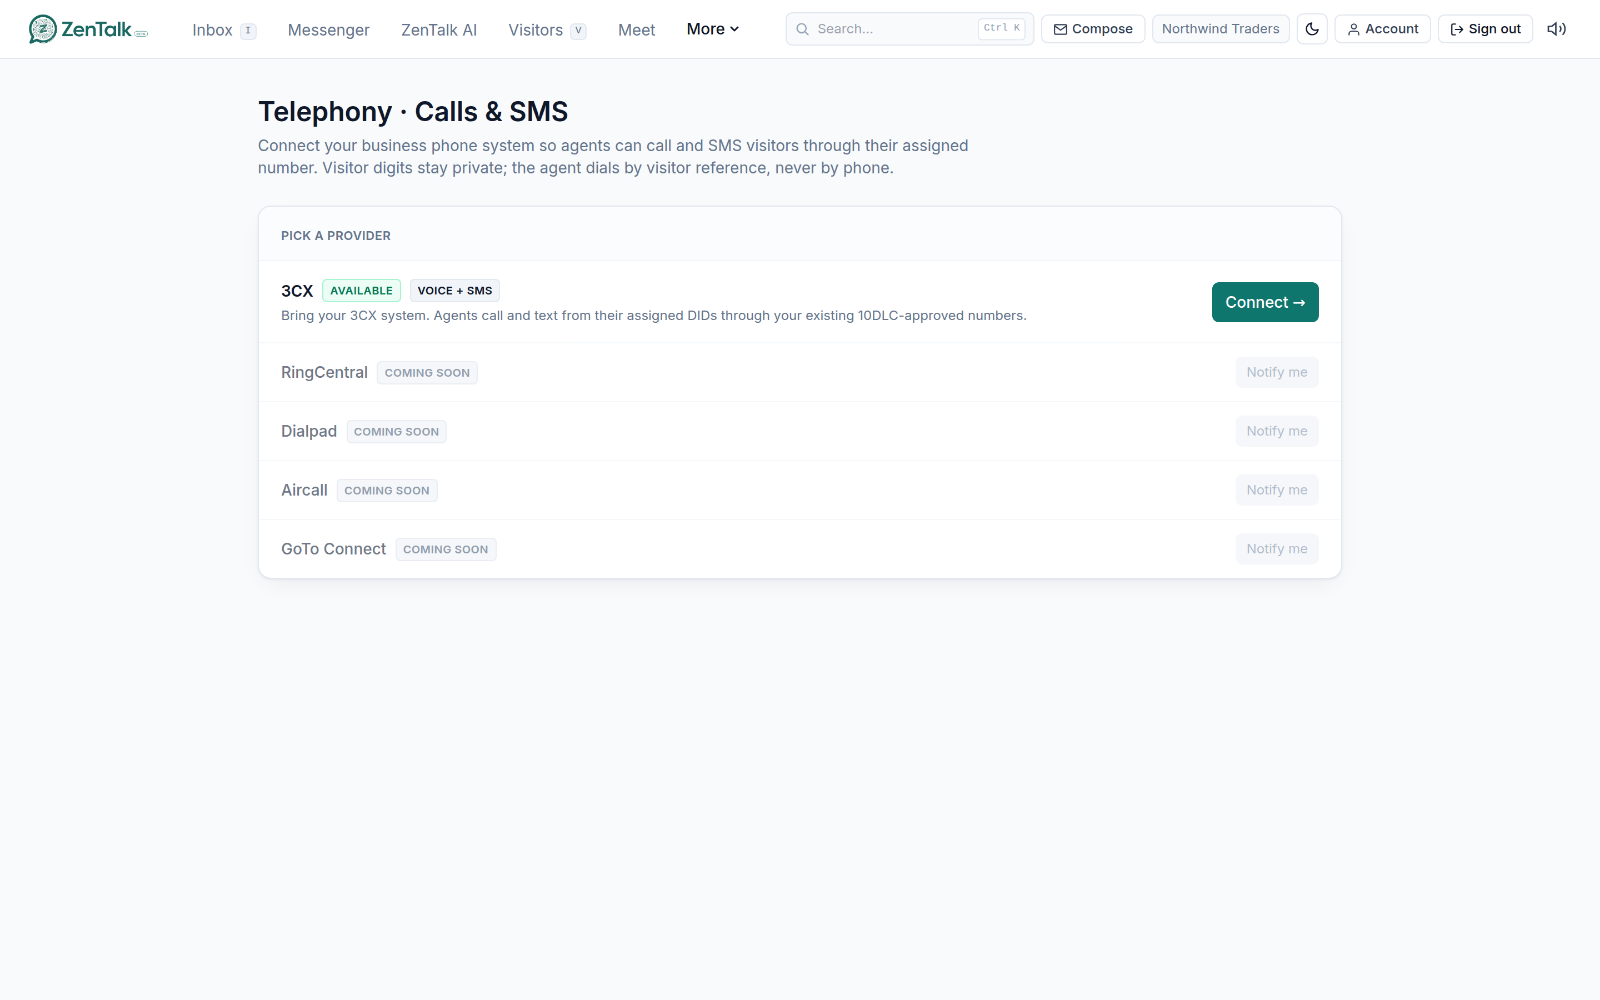
ZenTalk does not have one giant settings screen. Settings are grouped by what they affect. Personal preferences live under your account. Anything that affects the whole team lives under the workspace and the owner and admin pages in the More menu. Anything that affects one website lives under that site in Sites. Use the sections below to find the right place.
Your account
The account page holds everything about you as an individual user. Open it with the Account link in the top bar.
- Profile: change your display name. Your login email and role are shown here but are not self-editable.
- Change password: set a new password. Changing it signs out every other session, so you have to log in again elsewhere.
- Two-factor authentication: turn on an authenticator app (scan the QR code) and save one-time recovery codes for when you lose your device.
- Active sessions: see where you are signed in and sign other sessions out.
- Reading language: pick a language and incoming visitor messages are translated into it for you; your replies are translated back for the visitor, and internal whispers are never translated.
- Visibility in this workspace: for hidden accounts, a per-session toggle to appear on the team page and presence lists.
To switch between light and dark mode, use the theme button in the top bar, next to the Account link.
Workspace settings
The Workspace settings page (owner and admin) sets the defaults that apply to your whole team.
- Workspace name and Timezone: the workspace display name and the time zone used across the product. The workspace slug is fixed and cannot be changed.
- Excluded countries: visitors from these countries are hidden from every agent surface (inbox, visitors, customers, tickets, leads, search, and insights) and never trigger alerts. The widget still works for them; you just are not shown or notified about their activity.
- In chat payments: the master switch, Allow agents and the AI sales agent to send payment links. Each site then has its own payments toggle on top of this. See Payments.
- Plan limits: a read-only summary of your agent, site, and attachment limits. To add or remove seats, open Billing. For other limits, contact support.
- Salary slip branding: a Logo and Company address printed on salary slips.
Billing, seats, and add-ons
Billing is self-serve. Open Billing from the More menu. It is managed by the workspace owner or an admin. For the full guide, see Billing.
- Plan and trial: ZenTalk is priced per agent seat, with AI included. New workspaces start with a 7-day free trial, which needs a card on file; click Add card & start free trial. During the trial you can upgrade to paid straight away.
- Seats: use the seat stepper to add or remove seats. The Update subscription dialog shows the exact prorated amount before you confirm. To manage the people who occupy seats, use Team.
- Add-ons: Recording (session recordings of engaged visitors) and Live Monitoring (the View page button in the Inbox). Each is a flat price for the whole workspace, not per seat. Turn on is prorated; Turn off takes effect at the end of the billing period, and you can Resume before then.
- Card and subscription: Update card, Cancel subscription (access continues until the period ends), and Resume subscription.
- Previous invoices: your billing history, with each invoice to view or download.
- Calling wallet: your calling wallet balance with a Top up shortcut.
If you installed ZenTalk from the Shopify App Store, the page shows Billed through Shopify and your charges appear on your Shopify bill instead.
Numbers and calling wallet
Numbers & Wallet in the More menu (owners and admins) is where you rent phone numbers, assign a calling number to each agent, top up the prepaid calling wallet that pays for calls and texts, and register for business texting in the US. Once an agent has a number, they can call and text from the Inbox. See Numbers & Wallet and Calling and texting customers.
Channels
Channels connects WhatsApp Business numbers and Facebook Messenger Pages straight to your inbox, with no website needed. Each connected number or Page gets its own AI bot.
Call recordings
Call Recordings in the More menu lists recorded calls. Owners and admins always have access. An agent sees it only when an admin sets Call recordings to Allowed in their profile on Team.
Payments and gateways
Payment configuration spans a workspace pool and a per-site choice.
- Payment gateways (owner and admin): the workspace merchant-account home. Add any number of titled Stripe or Authorize.Net merchants here; each site then picks its default from this pool.
- Per-site payments: on a site under Sites, a payments toggle (on top of the workspace In chat payments switch) plus the merchant that site charges through. See Payments.
Per-site settings and integrations
Most integrations are configured on a specific website under Sites, from the pills on the site card.
- AI sales agent: enable and configure the per-site bot, including its name, persona, and voice. See AI Sales Agent.
- Store: connect a Shopify or WooCommerce store so the AI can answer product, stock, and order questions and share checkout links. See Store.
- Google Ads: connect an ad account to a site to push your blocked IPs to your campaigns. See Google Ads.
- Alerts: set which addresses get an email when a visitor on that site sounds dissatisfied. See Alerts.
Modules
ZenTalk is organized into modules such as chat, tickets, projects, HR, and insights. Which tabs appear in your top bar depends on the modules enabled for your workspace and your role; for example, Insights only shows when the Insights module is on, and chat tabs such as Ratings need the chat module. If a whole area is missing rather than just an individual control, the module is likely turned off for your workspace. Contact support to change which modules are active.
Related
To manage individual websites and their per-site settings, see Sites. To add teammates and set roles, see Team. To manage workspaces across your company, see Organization.