
Browse all docs
Setup and admin
Employees
The Employees tab is your HR and attendance surface: set each teammate's salary, shift, and grace period, track lateness and absences, review the reasons your team submits, and generate monthly salary slips.
What this tab is for
Employees turns your workspace roster into an HR record. For each person you opt in you set a monthly base salary, a shift with work days, a grace period, and a late threshold. ZenTalk uses that configuration to track attendance, calculate deductions, apply income tax, and produce a monthly salary slip. There is a companion Reasonsqueue for reviewing the late, absent, and leave explanations people submit.
How to get there
Open Employees from the top navigation. If you do not see it, the HR module is not enabled for your workspace or your role is not owner or admin. The page opens empty until you configure your first teammate.
The page at a glance
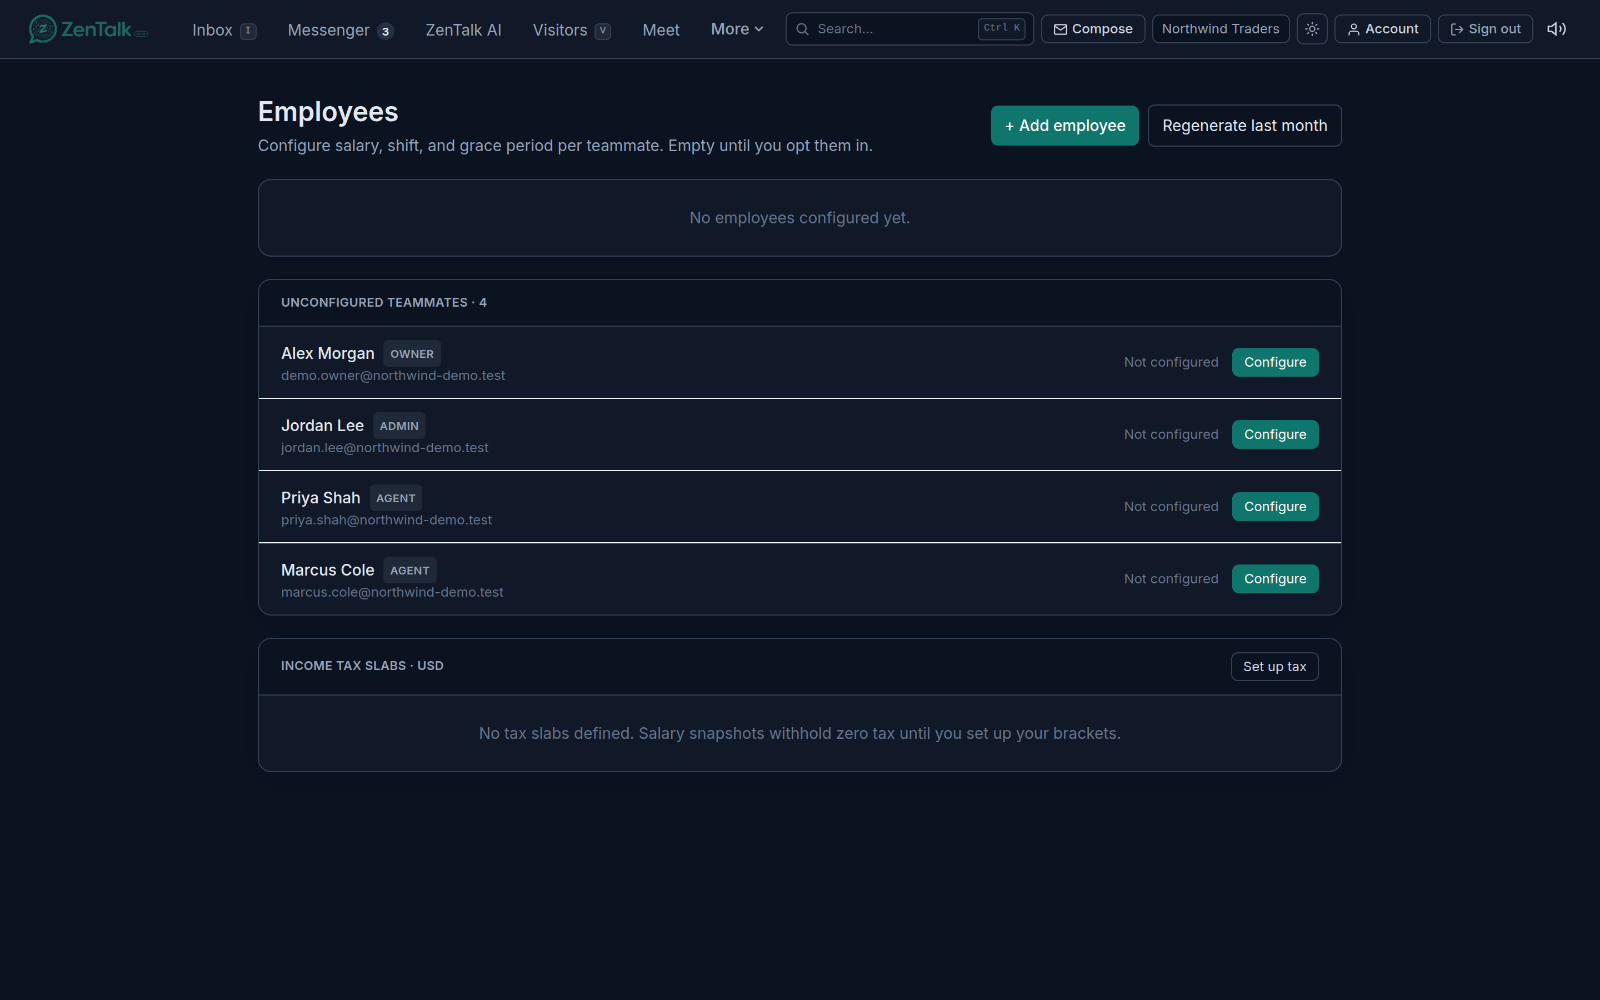
- Configured lists everyone who has an employee profile, showing their shift, grace period, late rule, timezone, and monthly pay with an estimated tax figure.
- Unconfigured teammates lists people who do not yet have a profile, each with a Configure button.
- Income tax slabs at the bottom holds the progressive tax brackets and default payroll currency for the whole workspace.
- Header actions: + Add employee and Regenerate last month.
Each row shows the person's name, role, and email. Someone who exists only as an HR record, with no dashboard access, carries an HR-only tag.
Adding and configuring employees
There are two ways a person becomes an employee. You can configure an existing teammate, or you can add a brand-new HR-only record.
Configure an existing teammate
- Find the person under Unconfigured teammates and click Configure.
- Enter the monthly base salary and choose the payroll currency.
- Set the shift start and end, then pick which days are work days.
- Set the grace period in minutes (the buffer before a clock-in counts as late) and the late threshold (deduct one day for every N lates).
- Set a timezone, or leave it blank to inherit the workspace timezone.
- Set the hire date, and a termination date if the person has left.
- Add optional admin-only notes, then click Configure profile.
As you type the salary, the form previews the annual figure, the estimated monthly tax, and the resulting net pay so you can sanity-check before saving. Use Edit on a configured row to change any of these later, or Remove to stop payroll tracking. Removing a profile keeps the account and preserves the attendance history.
Add a new HR-only employee
Click + Add employee to create someone who exists in HR but has no dashboard login. Enter their name, email, and an optional job title, then fill in the same salary and shift fields. The record is created with no password, so nobody can sign in to it until you invite the person through the Team page, which detects the existing record by email and promotes it in place.
Attendance and check-in tracking
Once a profile exists, ZenTalk measures each work day against that person's shift and timezone. A clock-in after the shift start plus the grace period counts as late. When lates accumulate past the late threshold, a day of pay is deducted. Missed work days count as absences and are deducted as well. These deductions flow into the monthly salary snapshot automatically.
Attendance reasons
When someone is late, absent, or takes leave, they can submit a reason. Those submissions collect in the Reasonsreview queue, which is also gated to the HR module.
- Owners and admins see every exception in the workspace.
- A team lead sees only their direct reports' exceptions.
- Filter the queue by Pending, Approved, Rejected, or All.
Each row shows the person, the type (Late, Absent, or Leave), the date, and their reason. Click Approve to accept it, which regenerates the affected salary snapshot and reduces its deductions, or Reject, where you can add an optional comment for the person. Items that were never acted on can appear as auto-rejected.
Income tax slabs
The tax section defines your workspace's default payroll currency and a set of progressive slabs. Nothing is tied to a specific country: you enter each slab's lower and upper annual thresholds, a fixed amount, a marginal rate, and a label. Click Set up tax or Edit slabs, add or remove rows, and click Save tax settings. Until you define brackets, salary snapshots withhold zero tax. Thresholds are annual income, and the brackets apply automatically when snapshots are generated.
Salary and monthly salary slips
ZenTalk generates a salary snapshot for every employee once a month, on the 2nd, after the previous month closes. Each slip shows the base salary, tax withheld, late and absent deductions, and the resulting net pay.
- On a configured row, click Slips.
- Browse the list of past months, each with its net pay and breakdown.
- Click View to open the slip PDF, or Download to save it.
If a slip is missing, or an attendance record was backdated after the monthly job ran, click Regenerate last month in the page header. This recomputes the previous month's net pay for every employee in the workspace. Approving an attendance reason also regenerates the affected snapshot on its own.
HR seats and chat seats
An employee record does not have to come with dashboard access. Each person has a chat-surface toggle labeled Uses the chat surface on their profile. Turn it off to make them HR-only: their salary and attendance are still tracked, but the chat tabs like Inbox and Visitors are hidden from their navigation and direct links redirect them away. Owners and admins always keep chat access and cannot be made HR-only. This lets you run payroll for staff such as drivers or designers without spending a chat seat on them, and promote them to a full chat user later through theTeam page.
Related: manage roles and invites on the Teampage, and enable the HR module and set your workspace timezone in Settings.