
Browse all docs
Configure your sites
Payments
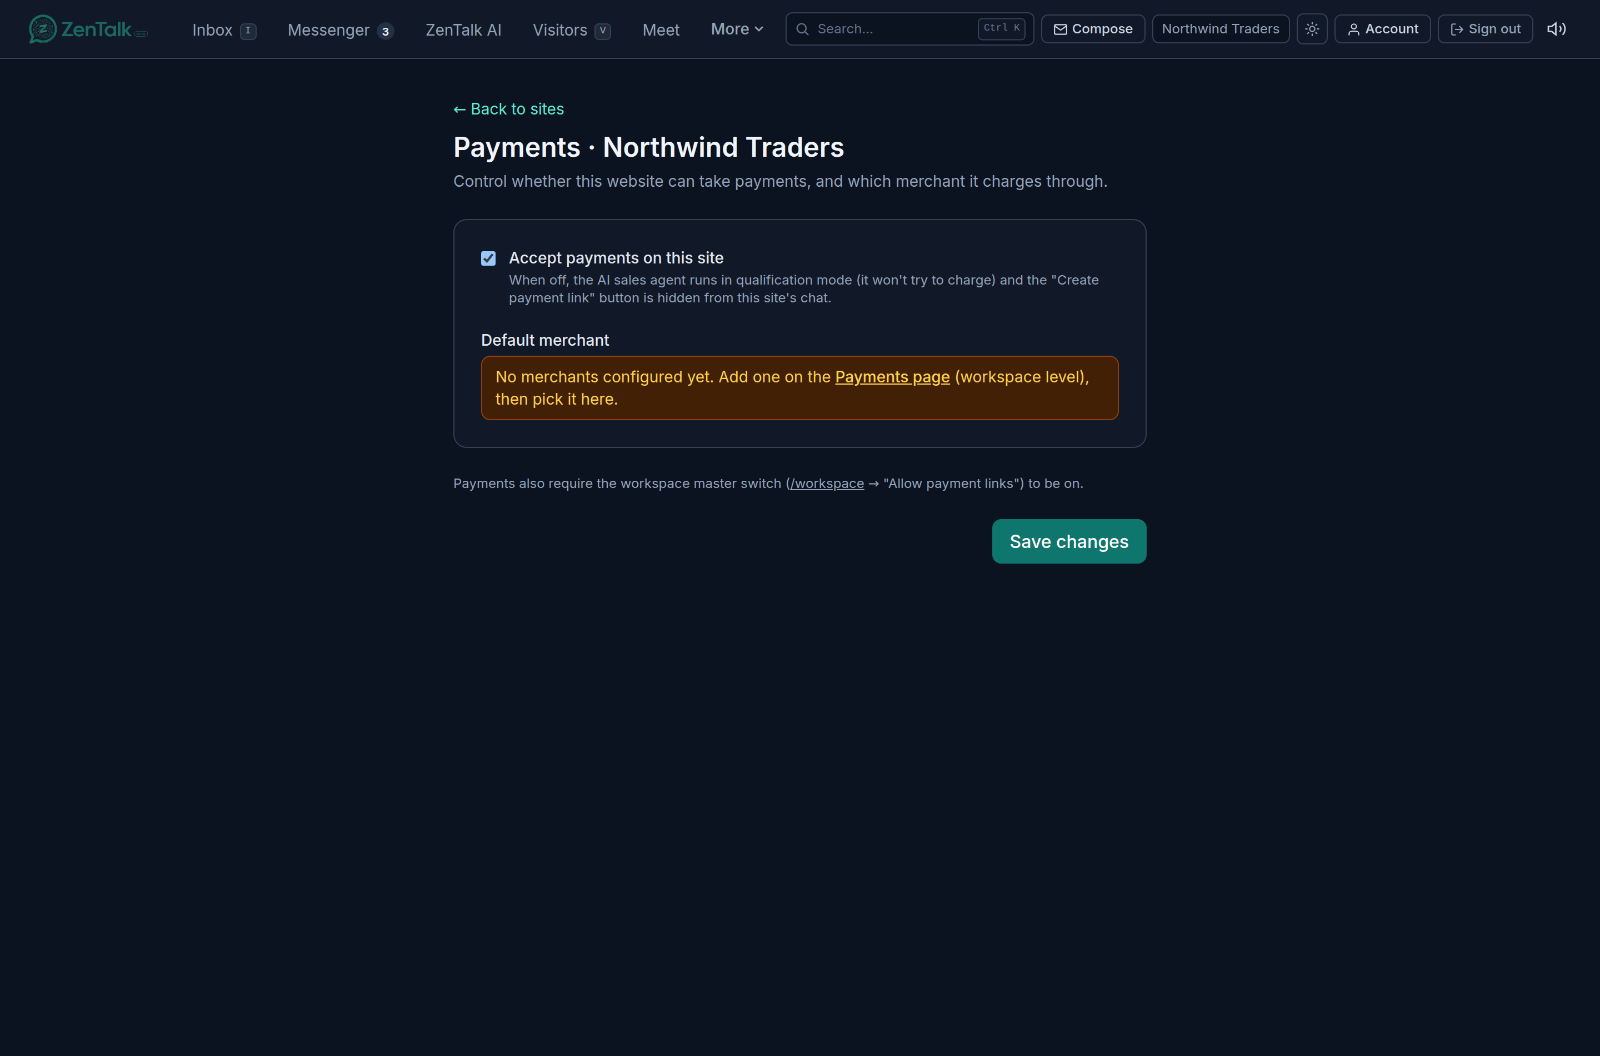
The Payments page controls one thing per site: whether this website can take money, and which merchant account it charges through. It is the switch that lets the AI and your agents send payment links and close deals in chat.
Where it lives
Open the Sites tab, select a site, and click Payments in the site card. Owners and admins can change these settings. Other roles who can open the page see it read-only, with a notice that only owners and admins can make changes.
Accept payments on this site
The Accept payments on this site toggle is the site-level switch.
- When it is on, the AI sales agent can quote and charge, and the $ Payment link button appears in this site's chats, both in the Inbox header and in the quick actions of a popped-out chat window.
- When it is off, the bot runs in qualification mode for money purposes: it will not try to charge, and the payment-link button is hidden. The bot still captures leads and hands them to your team.
Default merchant
Default merchant is the account this site settles through, chosen from your workspace pool of merchants. If the list is empty, add a merchant first on the workspace-level Payments page, then come back and pick it here. Different sites can point at different merchants, which is handy when you run several brands.
Related
Payments power the checkout the AI sales agent sends when it closes a deal.